
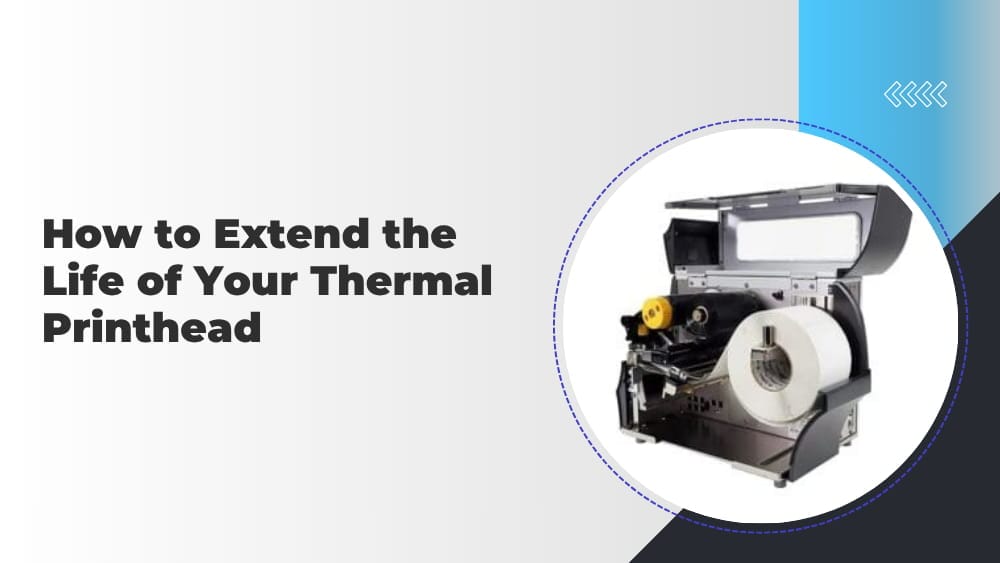
How Long Does a Thermal Printhead Actually Last?
The thermal printhead is the most critical — and most expensive — component inside any thermal printer. It is also a consumable, which means it will eventually wear out. Understanding how lifespan is measured and what affects it is the starting point for protecting your investment.
Printhead lifespan is measured in linear print distance, not in years. Most standard thermal printheads are rated for 30 to 60 linear kilometres (approximately 1 to 2 million linear inches) under optimal conditions. Industrial-grade heads with reinforced components can reach nearly 5 million linear inches. High-resolution printheads (300 dpi and above) generally have a shorter lifespan than 203 dpi heads because their heating elements are smaller and more delicate.
To estimate how far your printhead has traveled, use this simple formula:
Linear inches printed = number of labels × label length (in inches)
For example, printing 10,000 labels at 4 inches each equals 40,000 linear inches of printhead usage. Tracking this figure helps you plan replacements before quality degrades — rather than reacting to a failure mid-production.
The good news: most of a printhead’s lifespan is directly within your control. Poor maintenance, wrong consumables, and incorrect settings are the leading causes of premature failure — none of which are inevitable.
What Causes a Printhead to Fail Prematurely?
Before covering what to do, it helps to understand what goes wrong — and why. There are two primary failure modes for thermal printheads:
1. Scratches and Abrasion — Gradual Wear
Every time a label or ribbon passes across the printhead surface, it creates friction. Over time, this friction wears away the ceramic protective coating on the printhead, eventually exposing the delicate heating elements underneath. Once the protective layer is gone, wear accelerates rapidly and print quality deteriorates — first as faint lines, then as permanent voids (white streaks) running along every label.
Abrasion is accelerated by: rough or low-quality media, incorrect printhead pressure, ribbons narrower than the label stock, and abrasive contaminants such as adhesive residue or paper dust trapped between the media and head.
2. Burned Heating Elements — Sudden Failure
When foreign matter accumulates on the surface of the printhead — adhesive residue, toner, label debris, dust — it creates an insulating layer over specific heating elements. Those elements can no longer dissipate heat efficiently, causing them to overheat and burn out permanently. A burned element appears as a permanent white dot or void in the same position on every subsequent label.
Burned elements are also caused by: excessive print darkness/heat settings, printing continuously at maximum speed without adequate cool-down, and static electricity discharge directly into the printhead.
3. Static Electricity Damage
Thermal printheads contain sensitive electronic components that are vulnerable to electrostatic discharge (ESD). A static shock during handling or maintenance can instantly damage internal circuits — often causing failures that appear unrelated to physical wear. This is why static protection during installation and cleaning is not optional.
7 Proven Ways to Extend Printhead Life
1. Clean the Printhead on a Regular Schedule
Regular cleaning is the single most impactful maintenance action you can take. Dust, adhesive residue from labels, ink deposits from ribbons, and paper fibres accumulate on the printhead surface and act as abrasives — or as insulating contamination that causes burnout.
Recommended cleaning frequency:
- Every roll of thermal transfer ribbon changed
- Every roll of direct thermal labels loaded
- More frequently in dusty, humid, or high-volume environments
How to clean correctly:
- Power off the printer and unplug it. Never clean a powered-on printer.
- Allow the printhead to cool completely before touching it — the surface can reach temperatures that cause burns.
- Use a lint-free foam-tip applicator or soft cleaning wipe dampened with 90–99% isopropyl alcohol (IPA). Do not use water, acetone, nail polish remover, or household cleaners.
- Wipe the printhead surface gently in one direction — do not scrub back and forth.
- Allow the printhead to air dry fully before closing the printer and resuming operation.
- Clean the platen roller at the same time — debris on the roller transfers back to the printhead surface.
Never use: screwdrivers, metal tools, abrasive pads, paper towels, or any hard object to remove residue. These will permanently scratch the ceramic coating, causing irreversible damage.
2. Remove Jewellery and Use Static Protection During Handling
Before performing any maintenance involving the printhead, remove rings, watches, bracelets, and any other metal objects. A ring catching the edge of the printhead during cleaning or media loading can instantly scratch or crack the ceramic surface — damage that no cleaning can reverse.
Use a grounding strap or anti-static mat when handling the printhead. Even a minor static discharge that you cannot feel can permanently damage the electronic components inside the head. This is especially important in dry environments and during winter months when static build-up is highest.
3. Use the Correct Ribbon Width — Always Wider Than the Label
In thermal transfer printing, the ribbon must be at least as wide as the full media web — meaning it must cover not just the label itself, but the complete width including the liner or carrier. If the ribbon is narrower than the media, the exposed edges of the printhead come into direct abrasive contact with the label stock — the most abrasive surface in the system. This is one of the fastest ways to cause edge wear and premature failure.
When in doubt, use a ribbon that is 2–3 mm wider than your label web on each side. The small additional cost of a slightly wider ribbon is negligible compared to the cost of a replacement printhead.
4. Use High-Quality Thermal Transfer Ribbons
Not all ribbons are equal. Low-quality ribbons frequently have uneven coating, inconsistent ink density, or residual manufacturing substances on the surface that contacts the printhead. These substances can corrode the printhead coating, leave deposits that cause burnout, or require higher heat settings to transfer — which accelerates wear.
High-quality ribbons — such as wax, wax-resin, and full-resin ribbons from established manufacturers — are produced with consistent composition and coating that minimises friction, deposits cleanly, and is formulated for compatibility with printhead materials. The performance difference is significant, and the cost difference per label is minimal.
Always confirm that the ribbon type (wax / wax-resin / resin) is correctly matched to your label substrate and application environment. Using a wax ribbon on a synthetic label substrate, for example, not only produces poor print quality but can leave excessive residue on the printhead.
5. Reduce Print Temperature and Speed to the Minimum Needed
Print darkness (heat setting) and print speed are the two settings users most commonly set too high. Higher heat means more thermal stress on every heating element with every print cycle. Higher speed means less time for heat to dissipate between cycles. Both accelerate wear.
The correct approach: set darkness to the lowest level that produces a clear, scannable barcode, and set speed to the lowest level that meets your throughput requirement. Test by printing a barcode at decreasing darkness settings and scanning it — the lowest setting at which it scans reliably is the correct setting. Do not add a margin “just to be safe.” That margin translates directly into accelerated printhead wear.
If you need to increase darkness to compensate for fading print quality, this is often a sign that the printhead needs cleaning or is approaching end of life — not a signal to permanently raise the heat setting.
6. Check and Optimise Printhead Pressure
Printhead pressure — the force with which the printhead presses against the media and ribbon — must be balanced correctly. Too much pressure creates excessive friction and wear on both the printhead and the platen roller. Too little pressure results in incomplete ink transfer and inconsistent print quality, which typically leads users to compensate by raising heat settings, compounding the problem.
Refer to your printer’s manual for the pressure adjustment procedure. If you regularly switch between media types of different thicknesses, recheck and adjust pressure each time. Uneven pressure across the width of the head — where one side presses harder than the other — causes uneven wear patterns that shorten head life and produce inconsistent print density across the label width.
7. Maintain a Clean Operating Environment
The environment your printer operates in has a direct effect on how quickly contaminants accumulate on the printhead. Dusty warehouses, humid environments, and areas with airborne adhesive particles all accelerate contamination rates.
- Keep printers covered with a dust cover when not in use.
- Position printers away from cutting, sanding, or adhesive-dispensing operations.
- Maintain ambient temperature and humidity within the manufacturer’s recommended range — typically 15–35°C and 20–80% RH non-condensing. Extreme heat or very dry conditions increase static build-up.
- In harsh environments, consider using printer enclosures designed for industrial use.
Quick Reference: Do’s and Don’ts
| ✓ Do | ✕ Don’t |
|---|---|
| Clean with 90–99% isopropyl alcohol and a lint-free swab | Use screwdrivers, metal tools, or abrasive materials to remove residue |
| Power off and cool down before cleaning | Clean a hot or powered-on printhead |
| Remove rings and metal jewellery before handling | Touch the printhead surface with bare fingers |
| Use a grounding strap or anti-static mat | Handle the printhead in dry conditions without static protection |
| Use ribbon wider than the full label web width | Use a ribbon narrower than the media — it exposes the printhead edges |
| Set print darkness to the minimum that produces a scannable barcode | Run at maximum darkness or heat “to be safe” |
| Use high-quality, printer-compatible ribbons and media | Use low-cost ribbons or off-specification media to save on consumables |
| Clean the platen roller at the same time as the printhead | Only clean the printhead and ignore the roller |
| Cover the printer when not in use | Leave printers uncovered in dusty or humid environments |
Signs Your Printhead Needs Attention — or Replacement
Even with good maintenance, printheads wear over time. Recognising early warning signs prevents a failing head from causing downstream problems — mislabelled goods, failed barcode scans, or production stoppages.
Signs that cleaning is needed:
- Print density is uneven or lighter than usual despite unchanged settings
- Faint horizontal streaks or smudging appear on labels
- Barcodes fail to scan reliably that previously scanned without issue
Signs of permanent printhead damage requiring replacement:
- Consistent white void lines running the full length of every label in the same position — this indicates burned-out heating elements that cannot be restored by cleaning
- Missing dots that do not clear after thorough cleaning
- Progressively increasing print darkness setting required to maintain output quality — indicating overall heating element degradation
- Physical cracks, chips, or visible scratches on the printhead surface
When permanent damage is confirmed, continued operation accelerates wear on adjacent elements and may stress other printer components. Prompt replacement is more economical than delayed action.
Frequently Asked Questions
Q: How often should I clean the printhead?
At minimum, every time you change a ribbon roll or load a new roll of direct thermal labels. In dusty, high-humidity, or very high-volume environments, clean more frequently. Consistent cleaning at each media change is the single most effective maintenance habit.
Q: Can I use regular alcohol wipes to clean the printhead?
Standard pre-moistened alcohol wipes (such as those used for medical surfaces) are often too wet and may contain additives that leave residue. Use dedicated printhead cleaning wipes or lint-free foam swabs dampened with 90–99% isopropyl alcohol. Allow the head to dry completely before printing.
Q: My print quality is fading — does the printhead need replacing?
Not necessarily. Fading print is most commonly caused by a dirty printhead, incorrect heat settings, or a low-quality ribbon. Clean the printhead thoroughly first, then check your darkness setting and ribbon type. If print quality does not improve after cleaning and settings adjustment, the printhead may be nearing end of life.
Q: Does printing speed affect printhead life?
Yes. Higher print speeds generate more heat per unit time and allow less time for heat dissipation between print cycles. Running at the lowest speed that meets your throughput requirement extends printhead life. High-resolution (600 dpi) printheads are particularly sensitive to speed — their smaller elements experience proportionally more thermal stress at high speeds.
Q: Are there ribbons that are better for printhead life?
Yes. High-quality ribbons from established manufacturers are formulated with consistent coatings that minimise friction and deposit cleanly. Resin ribbons, while more expensive per roll, often extend printhead life in high-wear applications because their smooth, consistent ink layer creates less abrasion than lower-grade wax ribbons. Always match ribbon type to your label substrate and printer specification.
